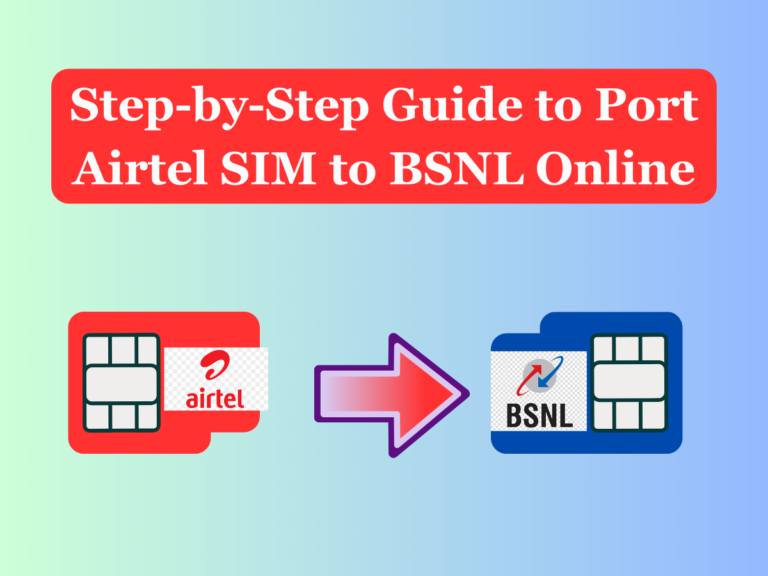
The sudden hike of 25% in the recharge prices has made the users to port Airtel Sim to BSNL. This is a big blow to millions of mobile phone users as the increased mobile recharge prices are directly going to effect their wallets. People are looking to consider operators like BSNL who is providing cheaper mobile recharge plans.
If you’re also considering switching from Airtel to BSNL, you might be wondering how to do it efficiently and conveniently. This guide will walk you through the steps to port your Airtel SIM to BSNL online, ensuring a smooth transition without the need for numerous visits to physical stores.
Why Port Airtel SIM to BSNL?
Before diving into the process, it’s important to understand why you might want to port your Airtel SIM to BSNL. Here are a few compelling reasons:
- Coverage and Network Strength: BSNL offers extensive coverage, especially in rural and remote areas where other networks might not be as reliable.
- Affordable Plans: BSNL is known for its competitive and budget-friendly plans, catering to various user needs.
- Government-Backed Trust: Being a government-owned enterprise, BSNL has a reputation for stability and trustworthiness.
Requirements for Porting Airtel SIM to BSNL
Before you start the process to port Airtel SIM to BSNL, ensure you have the following things:
- Active Airtel SIM: Your Airtel SIM should be active for at least 90 days.
- UPC (Unique Porting Code): A code provided by your current operator for porting.
- Valid ID Proof: Documents such as Aadhar card, passport, or voter ID.
- BSNL SIM: You need to have a BSNL SIM card ready for the porting process.
Step-by-Step Guide to Port Airtel SIM to BSNL Online
Step 1: Generate the Unique Porting Code (UPC)
The first step in the process to port Airtel SIM to BSNL is to generate the UPC from your Airtel number. Here’s how to do it:
- Send an SMS: From your Airtel number, send an SMS to 1900 with the text
PORT <your 10-digit mobile number>. - Receive UPC: You will receive a message from Airtel containing your Unique Porting Code (UPC) along with its expiry date.
Step 2: Visit the BSNL MNP (Mobile Number Portability) Portal
Once you have your UPC, the next step is to visit the BSNL MNP portal. Here’s how to proceed:
- Open the Portal: Visit the official BSNL Mobile Number Portability portal on your web browser.
- Fill in the Form: Enter the required details such as your name, mobile number, UPC, address, and upload your ID proof.
Step 3: Verification and KYC
After submitting the form, BSNL will initiate the verification process. This usually involves:
- Verification Call: A BSNL representative may call you to verify the details.
- KYC Process: You might need to complete a Know Your Customer (KYC) process. This can be done online by uploading your ID proof or via a doorstep KYC verification by a BSNL executive.
Step 4: Approval and Activation
Once your details are verified and approved:
- SIM Activation: BSNL will send you a message confirming the activation date of your new BSNL SIM.
- Insert BSNL SIM: On the activation date, insert your new BSNL SIM card into your phone.
- Service Disruption: Note that there may be a short period when your service is interrupted during the switch.
Also Read
Tips for a Smooth Airtel To BSNL Porting Process
To ensure a hassle-free experience when you port Airtel SIM to BSNL, keep these tips in mind:
- Clear Dues: Make sure you have no outstanding dues on your Airtel account.
- Back-Up Contacts: Back up your contacts and important messages to avoid data loss.
- Stay Informed: Keep track of the messages and updates from both Airtel and BSNL during the porting process.
Troubleshooting Common Issues
Despite a generally smooth process, you might encounter a few hiccups while you port Airtel SIM to BSNL. Here’s how to address them:
- Delay in Porting: If the porting process takes longer than expected, contact BSNL customer care for an update.
- Verification Issues: Ensure all submitted documents are clear and legible to avoid verification delays.
- No Network: If your BSNL SIM doesn’t show any network after the activation date, restart your phone or contact BSNL support.
Benefits After Switching to BSNL
Once you successfully port Airtel SIM to BSNL, you can enjoy a host of benefits:
- Better Coverage: Enjoy improved network coverage, especially in remote areas.
- Cost Savings: Benefit from BSNL’s affordable and diverse prepaid and postpaid plans.
- Customer Support: Access reliable customer support services provided by BSNL.
Conclusion
Switching your mobile network can seem daunting, but the process to port Airtel SIM to BSNL online is straightforward and user-friendly. By following the steps outlined above, you can ensure a smooth transition and start enjoying the benefits of BSNL’s services. Whether it’s for better coverage, cost-effective plans, or the trust associated with a government-backed service, porting to BSNL can be a smart move.
Remember to keep all necessary documents handy and stay informed throughout the process for a hassle-free experience.